Introduction

In this guide, we’re going to see how to port forward a Kubernetes service using three different methods. Port forwarding is a quick and easy way to access services running inside your Kubernetes cluster, whether you’re developing locally or working on a remote cloud setup.
We’ll cover:
✅ Local port forwarding using kubectl

🌐 Port forwarding over the internet

🔐 Port forwarding via SSH tunnel (great for private clusters)
Whether you’re a developer testing an app or a DevOps engineer troubleshooting a service, these techniques will help you securely access your workloads without exposing them permanently.
Let’s get started!
What is Port Forwarding in Kubernetes?
Port forwarding in Kubernetes is a way to access a specific pod or service inside your cluster from your local machine. It temporarily forwards a port on your local computer to a port inside the Kubernetes cluster.
This is especially useful for:
🧪 Testing services during development

🔍 Debugging applications without exposing them to the internet

⚙️ Accessing internal services from your local environment
When you run a port forward, Kubernetes creates a direct tunnel between your computer and the selected pod or service. This allows you to access it as if it were running locally — no LoadBalancer, NodePort, or Ingress needed.
Deploy an NGINX Service for Testing
To demonstrate port forwarding in Kubernetes, let’s deploy a simple NGINX pod and service. NGINX is a lightweight web server that’s perfect for quick testing and learning.
We’ll create:
A Deployment to run the NGINX container

A ClusterIP Service to expose it within the cluster
We’ll deploy NGINX using YAML manifests, which makes it easy to define both the Deployment and Service configurations in a clear and reusable way. Once defined, you can apply them directly using kubectl.
Here are the YAML files you’ll need:
nginx-deployment.yaml
apiVersion: apps/v1
kind: Deployment
metadata:
  name: nginx
  labels:
    app: nginx
spec:
  replicas: 1
  selector:
    matchLabels:
      app: nginx
  template:
    metadata:
      labels:
        app: nginx
    spec:
      containers:
        - name: nginx
          image: nginx:latest
          ports:
            - containerPort: 80
nginx-service.yaml
apiVersion: v1
kind: Service
metadata:
  name: nginx
spec:
  selector:
    app: nginx
  ports:
    - protocol: TCP
      port: 80
      targetPort: 80
  type: ClusterIP
Deploy using below kubectl commands:
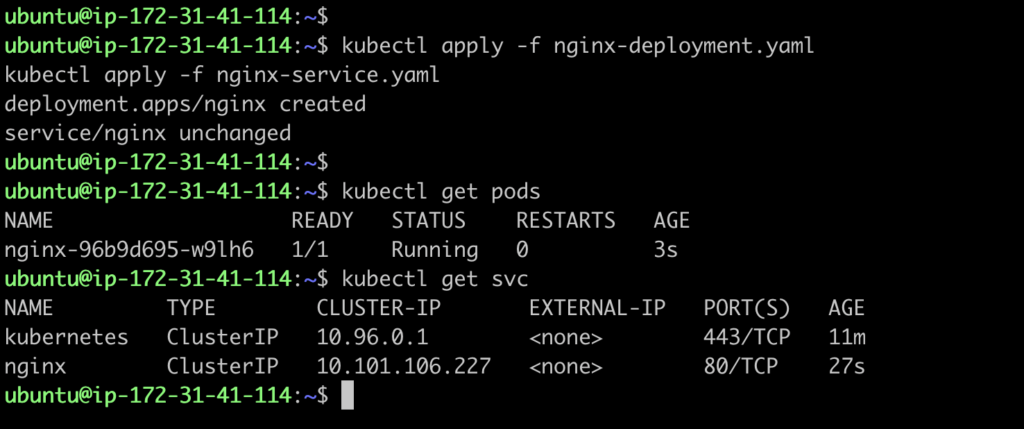
kubectl apply -f nginx-deployment.yaml
kubectl apply -f nginx-service.yaml
We can see that nginx pod and service is created.
Method 1 – Local Port Forwarding with kubectl
The simplest way to access a Kubernetes service from your local machine is by using the kubectl port-forward command. This method is great for development and testing purposes when you’re working on your local cluster.
kubectl port-forward pod/[pod name] 8080:80Here’s what it means:
8080 (ExternalPort):
This is the port on your local machine (your laptop or server) that you’ll use to access the service. You can choose any free port.

80 (ServicePort):
This is the port that your Kubernetes service is exposing inside the cluster, which is forwarded to the container (in this case, NGINX's port 80).
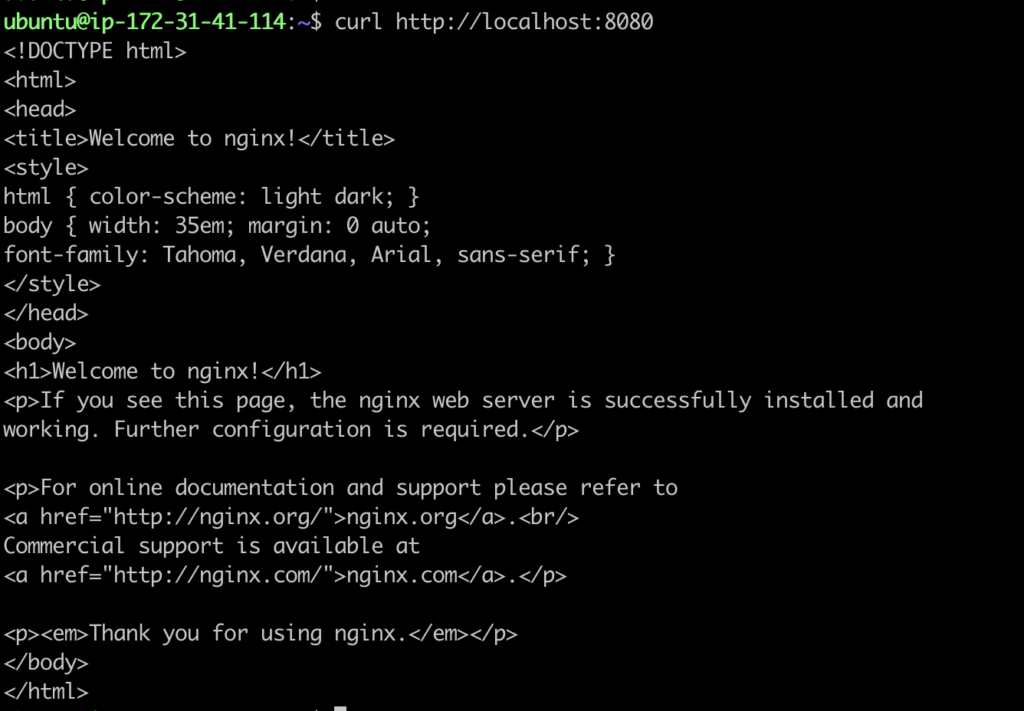
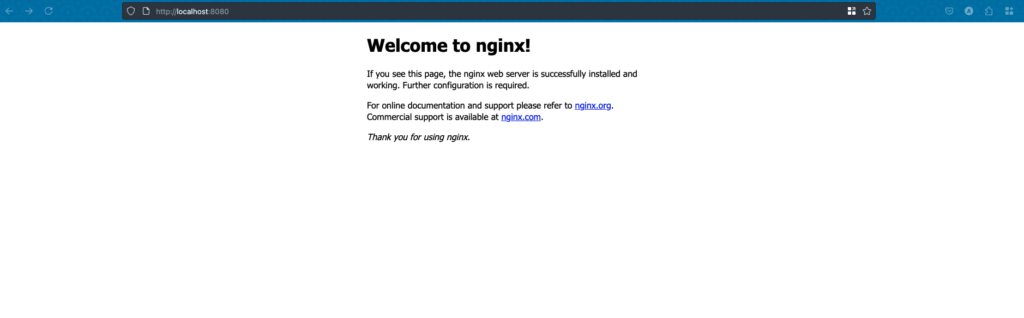
To verify that the port forwarding is working, we can use the curl command to send a request to our local machine on port 8080:
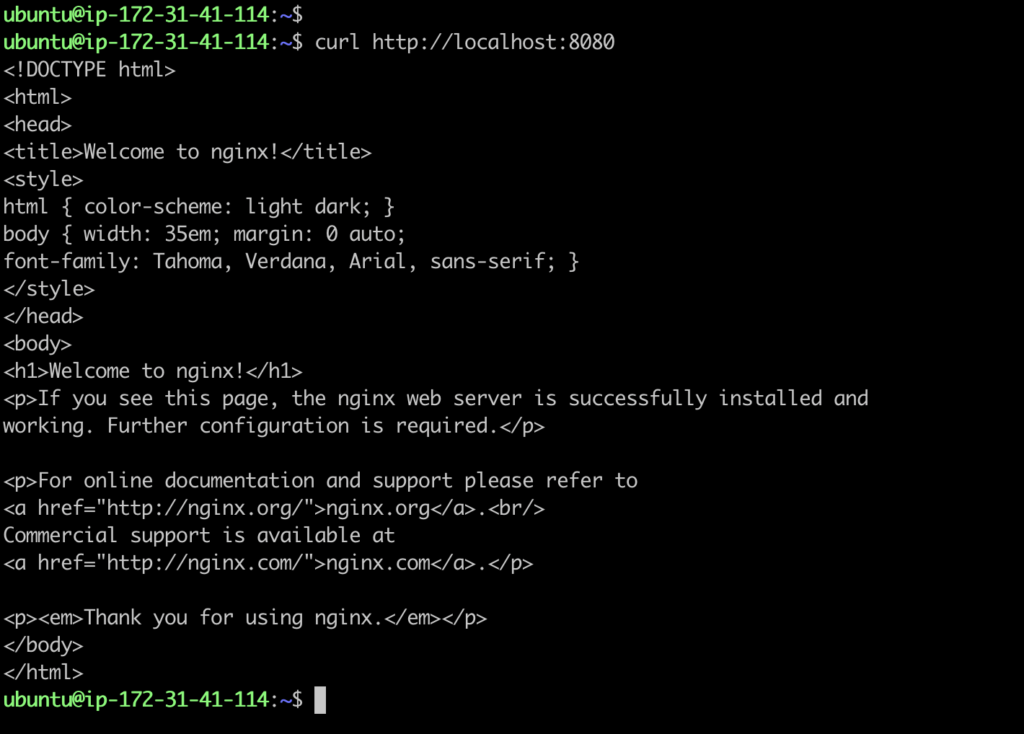
If everything is set up correctly, you should see the default NGINX welcome page in the response, as shown in the screenshot above. This confirms that:
Port 8080 on your local machine is forwarding traffic to the NGINX service inside your Kubernetes cluster.

The NGINX pod is running correctly and serving responses.
This is a quick and easy way to validate that your Kubernetes service is accessible via kubectl port-forward.
In addition to using the pod name, you can also port forward using the Kubernetes service name. This is often preferred when you want to expose a group of pods behind a service.

Verify port-forwarding
Method 2 – Port Forwarding Over the Internet
Another way to expose a service over the internet is to bind the port-forward command to all network interfaces using the --address flag:
This means:
8080:80: Forwards traffic from local port 8080 to port 80 inside the pod.

--address 0.0.0.0: Binds the port-forwarding to all interfaces, including public IP addresses.
🔧 Use Case:
This approach is useful when:
You want to quickly demo a service running inside Kubernetes to a teammate or client.

You are testing API integrations or webhooks that require public callbacks (like Stripe, GitHub webhooks, etc.).

You’re working in a remote development setup and need temporary external access to internal services.
Once port forwarding is set up with –address 0.0.0.0, you can access your application from anywhere over the internet using the public IP of your EC2 instance.
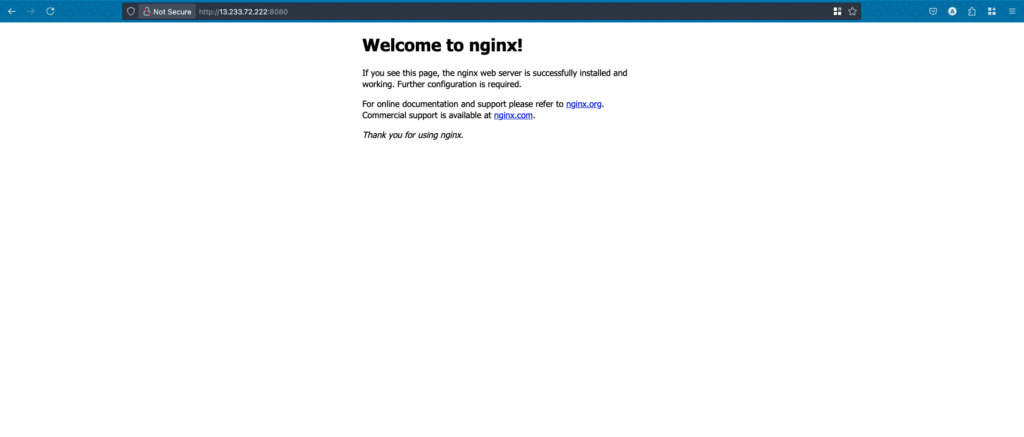
✅ Important: This opens your pod to the public internet. Always secure it with firewalls or run it behind a reverse proxy with proper authentication.
Method 3 – Port Forwarding via SSH Tunnel
If your Kubernetes cluster is running on a remote VM or EC2 instance, and you don’t want to expose your pod over the public internet, an SSH tunnel is a safe and secure alternative.
🔒 Why Use an SSH Tunnel?
✅ Adds a layer of security by encrypting traffic.

✅ Doesn’t require modifying firewall or security group rules.

✅ Keeps the service local to the machine but accessible to you.
🧪 Scenario:
You want to access an NGINX service running in Minikube on an EC2 instance from your local laptop (not from inside the EC2 shell). For this, you’ll tunnel the remote port (on EC2) to your local system via SSH.
What is an SSH tunnel?
An SSH tunnel is a secure channel created between your local machine and a remote server using the SSH (Secure Shell) protocol. It allows you to safely forward network traffic from one machine to another through an encrypted connection.
1. Port Forward the Pod/Service Locally on the EC2

2. Open SSH Tunnel from Your Local Machine

3. Verify using localhost:8080
Troubleshooting
❌ What If You Get “Unable to listen on port X: Address already in use”?
- Install net-tools
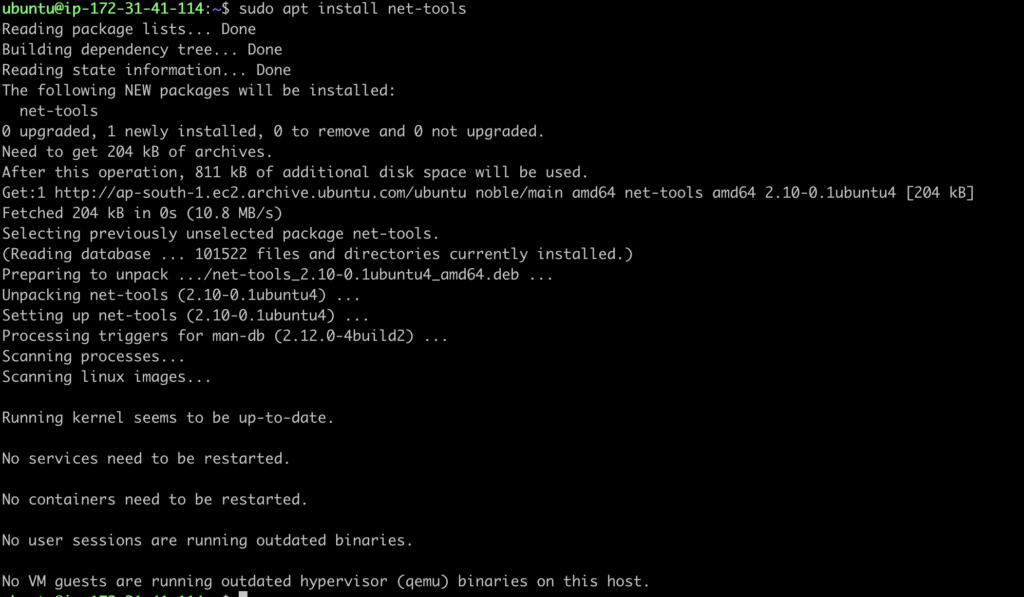

2. Run netstat -ntpl This will show the process and PID that’s listening on port 8080 (or whatever port you’re trying to forward).Once you identify the PID, terminate the process using:
kill -9 <PID>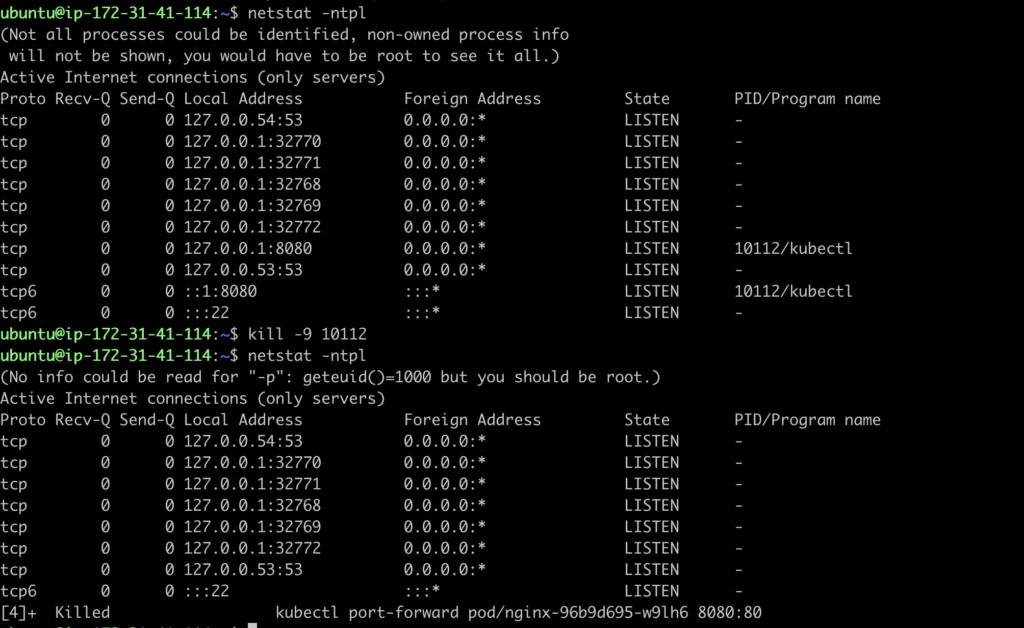
Conclusion
In this guide, we explored three powerful methods to port forward a Kubernetes service: using kubectl locally, exposing it over the internet, and securely tunneling with SSH. Port forwarding is an essential skill for Kubernetes developers and DevOps engineers, allowing you to debug services, access internal pods, and test deployments without exposing your entire cluster. Whether you’re working in a local environment or managing remote infrastructure on cloud platforms like AWS, mastering Kubernetes port forwarding helps you stay efficient and secure.
👉 Bonus Tip: Always ensure you’re forwarding ports safely — especially when exposing pods over the internet. Use firewalls, authentication, and best security practices.
To setup kuberentes cluster on local/vm , refer to How to Set Up Kubernetes Cluster Locally on Ubuntu with Minikube (2025 Guide)